IOT RECIPE: 01 Introduction - Sensor web interface

I'll start a new series of posts on IOT matter from the end.
This is the web interface running on my local area network.


Running the site is a mini flask web server running on a Raspberry PI. In the screenshot, charts are provided by highcharts.com and Justgage javascript library.

In this series of posts i'll cover all the ingredients of my recipe:
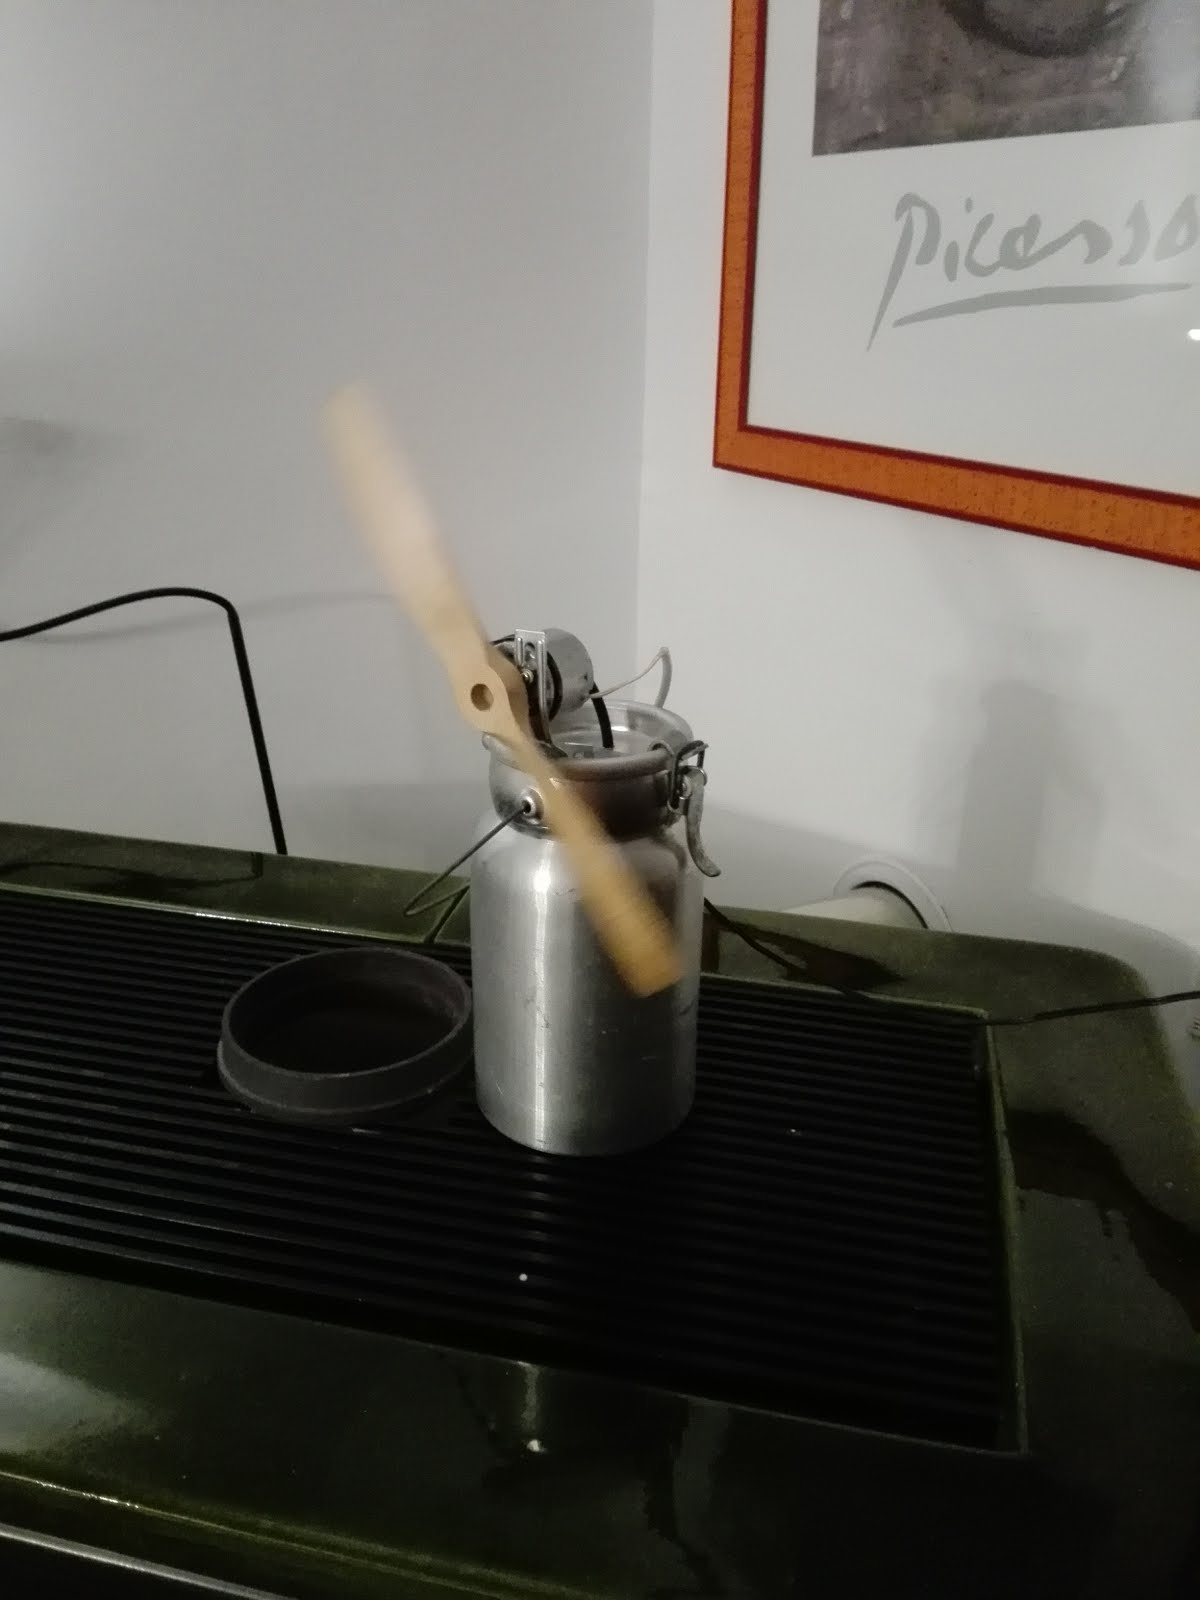
- Sensors overview (DHT22, Energy, Light, Barometric pressure, Pellet height)
- Raspberry Pi data acquisition with Arduino
- Launchpad Tiva CC3200 with WiFi
- Node Red Engine
- MQTT, Mosquitto, Paho
- Rrdtool, circular timeseries database
- Flask server
- Charting with javascript
- Debian unit files
- Telegram Bot Api

OUTSIDE: Dan Gelbart, marvellous craftman

Check out a series of 18 videos on prototypes by Dan Gelbart.

With simple language and real examples Dan will capture you as nobody did before; his videos are not only about prototypes or machinery: each time i look at Dan's videos, he says to me that if you really believe in yourself, you can spend all your life doing what you like and be proud to share your achievement with others like you.

My favourite one is #5 on spot welding.


Check out Dan Gelbart Youtube channel for other videos

PEATOL/TAIG: Milling attachment 1220

Milling attachment
Part # 1220

From Taig: The milling attachment is used to hold the workpiece while the cutting tool is held in the headstock spindle. The attachment provides vertical travel of approximately 1 3/4 inches. The dial provides travel in .001 inch increments.

The cutters (end mills) are held in the spindle with collets to provide maximum rigidity. Miniature end mills come with 3/16 inch diameter shanks and various size cutting diameters. The end mills will cut all materials steel, aluminum, brass, plastic and wood.


Milling on a lathe? If you already have a mill, you will find are needed more passes and lighter cut with this attachment.
The attachment may also be used for gear cutting. Check out this video by xynudu on youtube:


OUTSIDE: Making gears at home

Making gears at home is quite difficult and a lot of tools and machinery are needed.

At least you need a rotary attachment for a mill or lathe with a specialized tool (involute gear cutter).
Another drawback is that to cut a specific gear you need a specific size of involute gear cutter, so a complete set (normally 8 pieces, around 100 bucks) is needed.

Chet out this great video by Tubalcain:

Another option is to build a small spur gear hobber machine (project already in the wishlist) like this beautiful one by Jack Hayes:

Also in this case, only the hobber, quite difficult to find, at least requires 80 bucks.

Solution? Not for helical or spur gears, but there is a particular set of gears, called worm gears you can machine at home. 

From wikipedia: "Worm-and-gear sets are a simple and compact way to achieve a high torque, low speed gear ratio. For example, helical gears are normally limited to gear ratios of less than 10:1 while worm-and-gear sets vary from 10:1 to 500:1"
Is possible to find this set of gears in telescope aligning mechanism or in a mill 4th rotary axis. In this set the two axis are perpendicular, and only one is driving.
The drived gear can be machined easily using only a lathe, and the other one may be simply a machine screw with imperial, metric, acme or custom thread. Is only needed to have the a screw tapper.

Check out this self-explanatory video by Dalibor Farny:

Finally a link of great kinematics models. From KMODDL site: "KMODDL is a collection of mechanical models and related resources for teaching the principles of kinematics--the geometry of pure motion. The core of KMODDL is the Reuleaux Collection of Mechanisms and Machines, an important collection of 19th-century machine elements held by Cornell's Sibley School of Mechanical and Aerospace Engineering."
http://kmoddl.library.cornell.edu/stillImages/Chicago/small/011.jpg
Digital file property of Cornell University Library. Made available under the same terms as a Creative Commons Attribution Non-commercial Share Alike License

ELECTROMAGNETIC CLOCK: Kundo (Germany) clock

A vintage Germany clock from manufacturer Kundo, around 1960's.


This particular and clever kind of clock keep time as mechanical watches do, with a swinging pendulum. But there is no mechanical winding: instead a magnetic force applied by the solenoid inside brass cylinder to the pendulum arm, gives to the pendulum a momentum maintaining pulses during time.


The solenoid is mechanically activated by a micro switch linked to the pendulum on the upper side.

Accuracy is provided by the brass bell, which is screwed on the pendulum. Each turn right raise the bell on the pendulum linkage, keeping the period shorter. On the other side, each turn left lower the bell, keeping the period longer.


I've replaced original battery (visible in the photo) with two AA size 1.5V batteries, and i've never replaced them in 4 years now.


PEATOL/TAIG: Radius turner 1210

Radius turner
Part # 1210

From Taig: The round nose tool bit can machine a radius at the end of the workpiece by swinging around the material. The bearing's inner race on the radius attachment bolts to the crosslide and then the entire base can rotate with the bearing. The rotation is done by hand.


If you want to see a radius turner in action, check out this video from ElationProduction on custom built ball turner for taig.


COIN-OP: mini arcade cabinet update

Just finished an update to the COIN-OP


I've replaced the switch plate covers with a metal one. The metal plate is a thick (20 gauge) stainless steel, cutted with Air sheet metal cutter and bended with Sheet metal bender.

On the bottom side i've completed the small window to recover coins.


Actually i've programmed the coin op with old 500 lire (out-of-course). I was surprised to realize the coin acceptor can recognize this kind of bimetal coin (bronzital - acmonital).

The girl on the coin obverse depict Republic: this kind of coin was common until Italy switched to euro on January 2001. In fact the coin acceptor is an educative trick to limit the children time spent into the game.

Next step: T-mold all over the laminated wood (not so easy to find here).

PEATOL/TAIG: Steady rest 1190

A photo review of the Peatol Taig Steady Rest (Part #1190).
Capacity: 3/32" to 1 1/2 " - 2.38 mm to 38.10 mm

From Taig: The Steady Rest is used to support long workpieces that extend out from the spindle. The support is needed so that the cutting tool does not deflect the workpiece as the carriage is traversed away from the spindle.


If the standard steady rest does not suit your needs, check this awesome work by Joe D Link to homemodelenginemachinist.com

If you want to modify this steady rest to use roller bearing, check out the encyclopedic Cartertools blog:

Finally check out the original PEATOL/TAIG lathe post back to 2014 on this blog.

OUTSIDE WOODWORKING: The Samurai Workbench

Gorgeous build, as he says: "A once in a lifetime woodworking project. It was one of the best, most rewarding experiences of my life."


Ten satisfying minutes of woodworking

TOOLS: How to cut sheet metal with air

Sheet metal is difficult to cut. The key is obviously to have a good tool.

I've tried with metal jigsaw: yes you can cut sheet metal with jigsaw but vibrations are very high, you need a powerful tool and a good support to the sheet metal. If something goes wrong (the cutter lock to the sheet metal while cutting) you will have a dancing sheet metal on your hands, so be really careful and use personal protections.

I've tried another option: AIR NIBBLER


You can buy the nibbler online for only 30 bucks, but you must have a good air compressor:

  • it consumes a lot of air, in my experience something like 250 l/min or 8.9 cfm.
  • it requires an high pressure (minimum 6 bar or 90 psi, up to 10 bar or 116 psi).
If you don't have a powerful compressor, you have to stop cutting and wait for the compressor to refill. Cutting with a lower pressure may lead to lock the punch in the sheet metal, which is difficult to release.

The product itself is a heavy piece of metal equipped with a reciprocating stamp punches (replaceable).
I was impressed by the power of the nibbler, which allowed me to give a straight cut to a 24 gauge sheet metal (0.6mm).
The cut quality is high, there is no deformation and the side is clean.

Vibrations are also low, because the piece of sheet metal is tight fitted by the head of the nibbler.

You can follow a hand curved path, but with the use of a supporting bar under the sheet metal you can follow a straight line without pains. To have the same cut quality along the line, is necessary to maintain cutting speed without halfway stops and tool perpendicular to the the sheet metal surface.

Another advantage is you can cut open pockets starting from a side, or closed pocket starting from a hole, just like a jigsaw.

While cutting on the front side a lot of little half moon pieces of metal are throwed by the nibbler, so also with this tool use a good pair of glasses, gloves and protect your skin: nobody should stay in the path of the tool.

DIY Sheet metal bending brake


While ago, i built a sheet metal brake from scrap. The design is simple and effective.

To build it you only need:
  • Three pieces of L profiles, equally cutted (In my bender 3x1 meter long or 40 inches);
  • One robust weld-on hinge (splitted in half use a piece for the left side, and a piece for the right side);
  • Two pieces of threaded rod (25cm or 10inches);
  • Minor profiles for the supporting stand and for the lever;
I've only used an angle grinder to cut the pieces and a MIG welder to compose the sheet metal bender. This tiny sheet metal brake can easily bend a large sheet metal of 1.5mm (3/64") or a narrow (5cm or 2") but thick bar (5mm or 6/32").


I'll improve it soldering on the back side two removable and adjustable stop bar to hold the upper L profile in place: while bending also an horizontal force is applied and sometimes the friction force applied vertically by the threaded rod is not sufficient.


The only drawback with this kind of sheet metal bender is that you cannot bend on four side, only on opposite sides. If you need to build a box you have to assembly it in two pieces, like the model in the photo:


The bending lever arm is 60 cm or 23 inches, and is sufficient to apply the right force to bend the metal.

REVIEW: Rhino Industrial 5200

I bought an industrial label writer after a bit of research.
My choose was to buy a RHINO INDUSTRIAL 5200 Labelwriter.
The package includes:
  • Rhino Industrial 5200 Label Maker
  • 3/4" White IND Vinyl Label Cartridge
  • 3/8" White IND Vinyl Label Cartridge
  • User Manual CD-ROM
  • Quick Reference Guide
  • AC Adapter
  • Carry Case
  • Rechargeable Lithium-ion Battery

Overall impression.

The value-for-money is high, i bought it for 99 euros on Amazon, considering also that are included 2 cartridges. The only missing feature is the usb connectivity, available on the model 6000 for the double of the price.
From the manufacturer description: "It's just as easy to print module and fixed-length labels, horizontal and vertical wire wraps, terminal and 110 blocks and much more. Print Code 39 and Code 128 barcodes. Access 100+ industry symbols, fractions, and punctuation marks with a few quick keystrokes."

Pros

  1. The Rhino 5200 is a rugged object, and the hard case kit is really well made.
  2. I like the rechargeable battery, because i don't have to buy batteries.
  3. On screen illumination is good, and overall ergonomy is fine, features are easily found without the manual.

Cons

  1. I don't like so much the cutting mechanism, because once cutted the label comes sticky to the side channel plastic and is difficult to extract, in particular with small ones.
  2. The label itself requires clean hands to be peeled and is not always pratical.

Update: Multi line labels.
Rhino 5200 can print multi line labels, depending from label width:

Update: Symbols
Rhino 5200 is equipped with a set of symbols printable near text
Rhino 5200 Symbols, click to enlarge

Disclaimer: I am not sponsored to write this review, is a good product and i recommend it because i'm satisfied.

Announcing a new blog: PRO TOOLS REVIEW

I've just created a new blog: protoolsreview.blogspot.com. Extensive review of workshop power tools with interactive charts, deep technical data analysis, photos and comparison.
In the first post: 29 Circular Saw comparison: Makita, Bosch, Hitachi and DeWalt


DIY: Stove fan

Our living room is equipped with an old wood stove.
The stove is placed in a corner and the room is very long.

Sitting in the middle of the room, i cannot feel the warm. This because the heat goes straight up to ceiling, and only a fraction of heat (radiant) directly arrives to the body.
After a couple of hours the room is quite warm but remains a gradient in the room based on the distance, so too hot near the stove, too cold far away from it.

Another problem is that i have to leave a cup of water on the stove to keep the air humidified.

On the web you can find quite a lot of heat powered stove fan, based on thermoelectric effect (peltier) or based on simple heat engine (stirling).
The price is between 50 and 150 bucks, and none of these provides humidity correction.

My solution is reasonably priced (zero, using items found in garage), and guarantees horizontal air movement and air humidification at the same time. The only drawback is that is powered by a small phone charger and is not heat powered.


Items to build it
  • A metal milk container from Alps pastures (a similar item will work: has to contain liquid, be sealed and withstand high temperatures);
  • A small DC motor;
  • A wood blade for rc airplane;
  • A phone charger;
  • A piece of black rubber tube;
  • A bracket for the motor;
Pay attention to isolate motor from the bracket using rubber, and also isolate the electrical connection with silicone tube.

Humidification
The milk container is filled with water. After half an hour the water starts to boil and a small tube (the only orifice) direct steam to the wood blades.

Energy usage
Considering a price of 0.30 euro/kWh and a consumption of 3.6W (6V, 600mA), a mid price for the stove of 100 bucks, i need to switch on the fan for 92000 hours (380 years considering the occasional stove usage) to match the initial cost of the stove (ok, i'm not considering inflation, but this makes the idea).

Popular posts